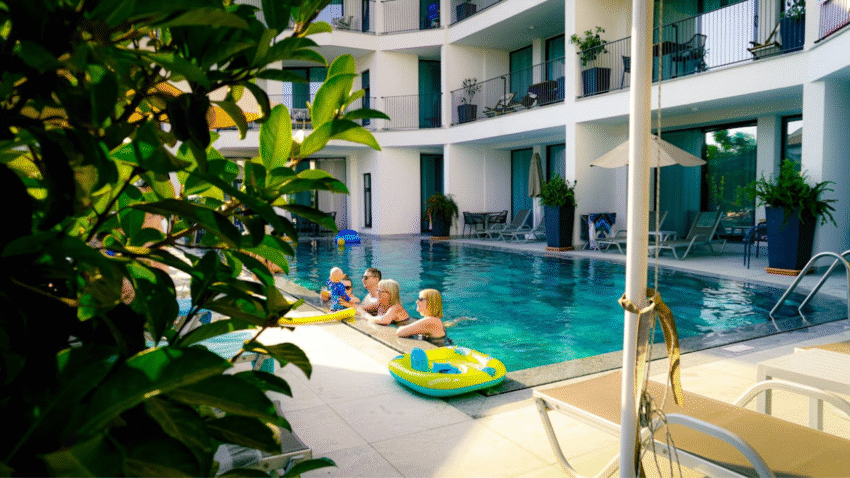
Introduction
Dreaming of your own backyard oasis without the high contractor fees? Building a DIY inground pool is a big project—but with the right planning, tools, and determination, it can be done. This guide will walk you through how to build a DIY inground pool step by step, covering everything from excavation to finishing touches. Whether you’re looking to save money or take on a personal challenge, here’s how to turn that dream into a reality.
Why Building a DIY Inground Pool Matters
An inground pool can add value to your home, create a space for family fun, and offer year-round enjoyment. By going the DIY route, you can:
- Save tens of thousands of dollars
- Customize your design and features
- Learn valuable skills
- Control the timeline and materials used
That said, building your own pool requires significant time, planning, and labor. But with patience and care, it’s a rewarding project that pays off for years to come.
Step-by-Step Guide to Building a DIY Inground Pool
Step 1: Design Your Pool and Check Local Permits
Before breaking ground, plan your pool thoroughly.
- Choose the pool type: concrete (gunite), vinyl liner, or fiberglass shell.
- Decide on the size, shape, and depth.
- Consider features like stairs, tanning ledges, or a deep end.
- Research zoning laws, HOA rules, and permit requirements in your area.
💡 Tip: Submit pool plans to your local building department and utility companies before digging.
Step 2: Mark the Layout and Excavate
Once approved:
- Mark your pool’s outline using spray paint, stakes, and string.
- Rent or hire a backhoe or excavator to dig the pool area.
- Excavate to the correct depth and contours, including slope and ledges.
⚠️ Caution: Call before you dig to avoid utility lines!
Step 3: Install Pool Walls or Shell
Depending on your pool type:
Vinyl Liner Pool:
- Set up steel or polymer wall panels around the perimeter.
- Bolt and brace panels, ensuring everything is level.
Concrete Pool:
- Frame the walls with rebar and wood forms.
- Prepare for gunite or shotcrete application.
Fiberglass Pool:
- Crane or lower the fiberglass shell into the hole.
- Adjust with backfill and water simultaneously to avoid shifting.
💡 Tip: Use a laser level to confirm even wall height.
Step 4: Lay Plumbing and Electrical Lines
Plan and install all plumbing and electrical before the pool structure is sealed.
- Install main drains, skimmers, and return jets.
- Run pipes to filter, pump, and heater (if used).
- Lay conduit for lighting and electrical connections.
- Hire a licensed electrician for all final electrical work.
⚠️ Always follow local code for safety and inspections.
Step 5: Pour or Apply the Pool Base
For Vinyl Pools:
- Pour a sand-cement mix (called vermiculite or pool base) on the floor.
- Trowel it smooth as a base for the liner.
For Concrete Pools:
- Apply gunite or shotcrete using professional equipment.
- Cure for 7–14 days, keeping it moist to avoid cracking.
For Fiberglass:
- Backfill around the shell with sand or gravel and water together to maintain pressure balance.
Step 6: Install the Pool Finish
Once the structure is complete:
- Vinyl Pools: Carefully place and secure the vinyl liner with a vacuum for a smooth fit.
- Concrete Pools: Apply a pool finish such as plaster, pebble, or tile.
- Fiberglass Pools: No finish needed—just polish if necessary.
💡 Tip: Install the liner on a warm day to stretch it more easily.
Step 7: Set Up Filtration and Circulation System
Install your:
- Pump
- Filter (cartridge, sand, or DE)
- Heater or heat pump (optional)
- Chlorinator or saltwater system (optional)
Prime the system, check for leaks, and run water through to test circulation.
🧼 Related Tip: [Learn how to maintain pool water clarity] to get started with weekly pool care.*
Step 8: Fill the Pool and Balance the Water
Once all systems are running:
- Fill the pool with water using a hose or water delivery service.
- Test water for pH, alkalinity, and chlorine levels.
- Add the proper startup chemicals and circulate for 24 hours before swimming.
💡 Tip: Shock the pool and add a stabilizer for best initial water quality.
Common Mistakes to Avoid
1. Skipping Permits and Inspections
Unpermitted pools can lead to fines or forced removal.
✅ Always check with your local building authority.
2. Poor Planning or Improper Excavation
Inaccurate digging can lead to sloped floors, uneven walls, or collapsed sides.
✅ Mark clearly, measure twice, and dig carefully.
3. Using Incorrect Materials
Using regular mortar or adhesives can cause failures in a wet environment.
✅ Use pool-grade materials rated for water submersion.
4. Not Compacting Backfill
Loose soil around fiberglass or vinyl pools can cause settling or wall damage.
✅ Compact soil in layers during backfill for long-term stability.
5. Rushing the Curing or Drying Process
Skipping curing time leads to cracks, leaks, or surface failure.
✅ Follow manufacturer recommendations and allow proper curing.
Extra Tips & Pool Hacks
- Add a pool cover early on to protect the finish and reduce debris.
- Install a deck drain to divert water away from your pool structure.
- Use a smart timer for your pump to reduce energy usage.
- Consider solar heating mats if a heater isn’t in the budget.
🧱 Related Tip: [Check out our guide on how to repair broken pool tiles] for post-build fixes or upgrades.
Conclusion
Building a DIY inground pool is a big undertaking—but it’s absolutely possible with the right preparation and patience. By following these steps carefully, you’ll create a custom backyard retreat and save thousands in the process. Take your time, do your research, and enjoy the satisfaction of swimming in a pool you built yourself.
👉 Bookmark this guide as your go-to resource during the entire DIY pool project!